


Follow the steps below to download and install the Battery Buddy desktop application:
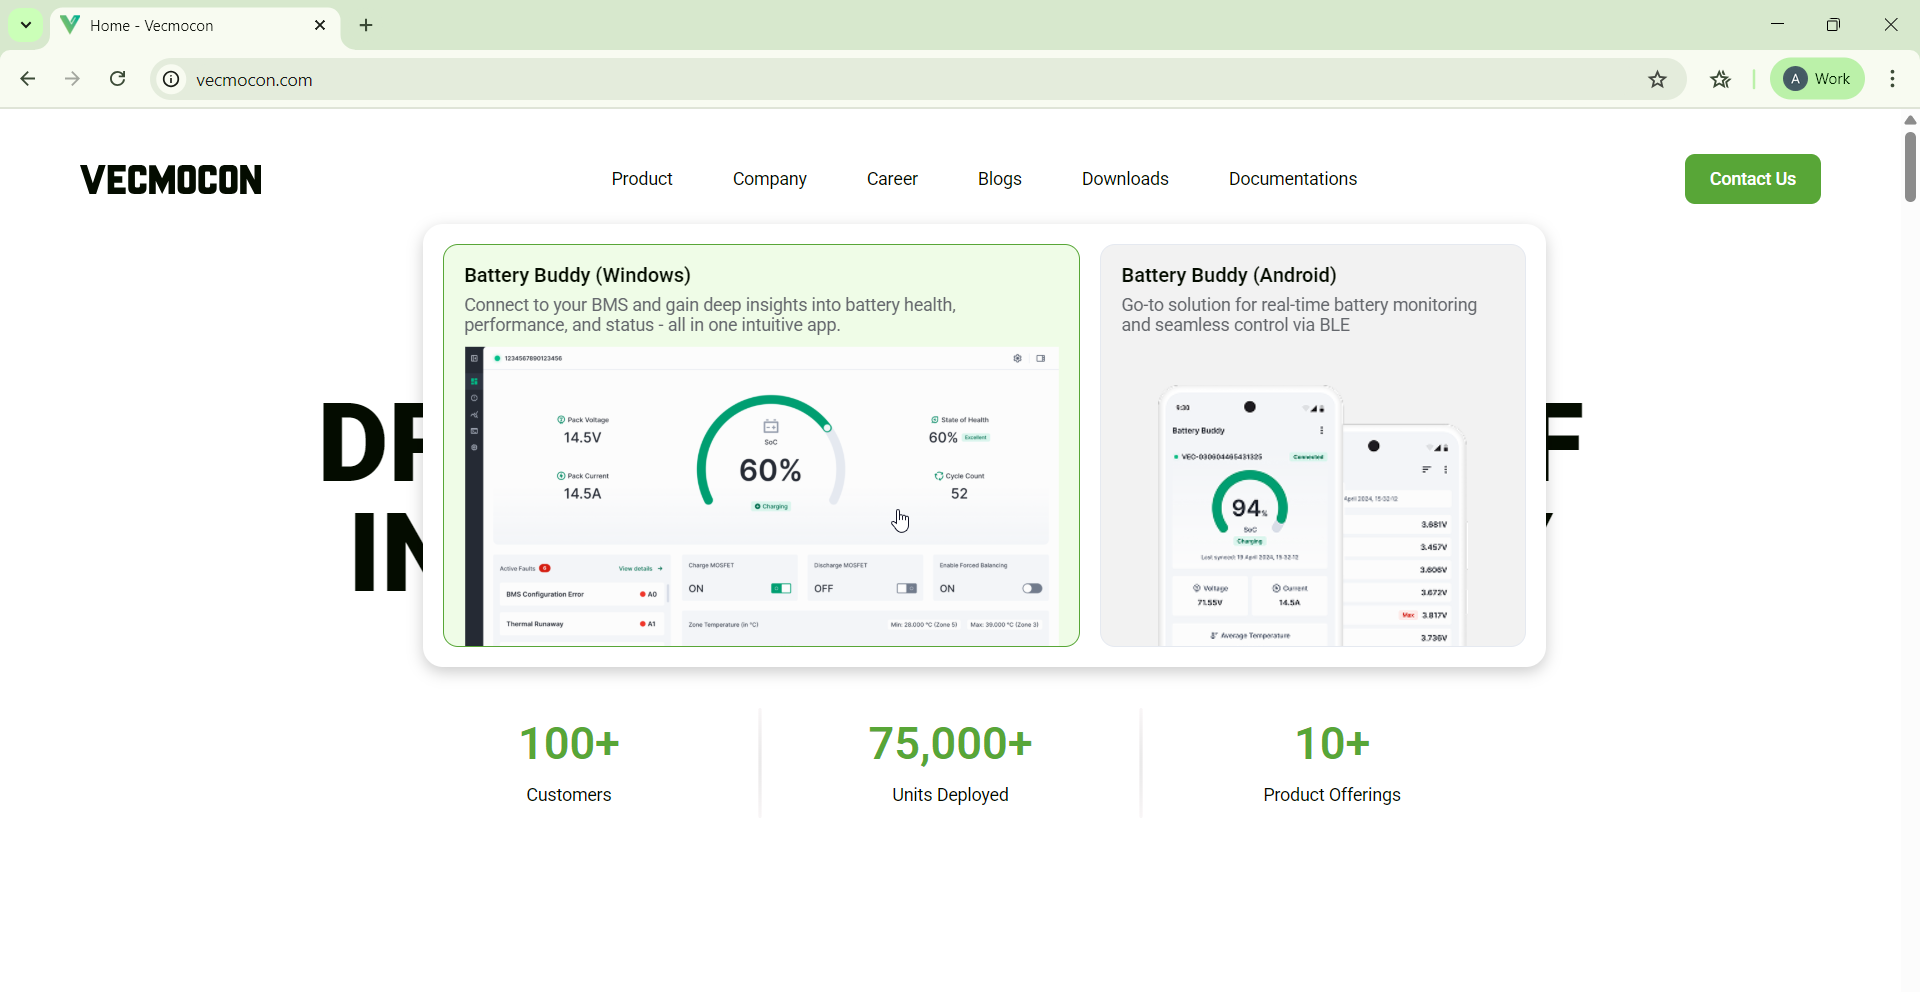
Step 1: Visit the Website
- Open your browser and go to the official Vecmocon website:
- Hover your mouse over the Downloads tab in the top navigation bar.
Do not click — just hover over it. - A dropdown panel will appear (as shown in the screenshot below).
Click on the Battery Buddy (Windows) download button.
Step 2: Run the Installer
- Once the .exe file is downloaded, open it from your browser’s download bar or from your Downloads folder.
- The installation wizard will open with a welcome screen.
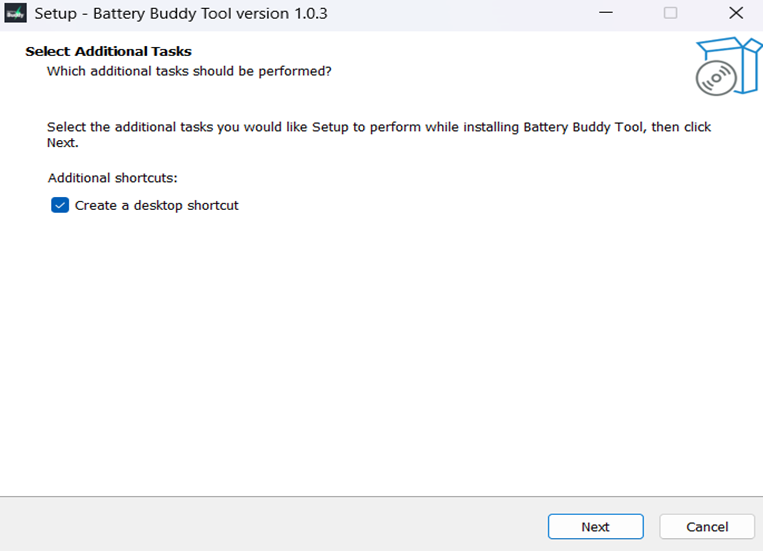
Step 3: Follow Installation Steps
- Create Desktop Shortcut:
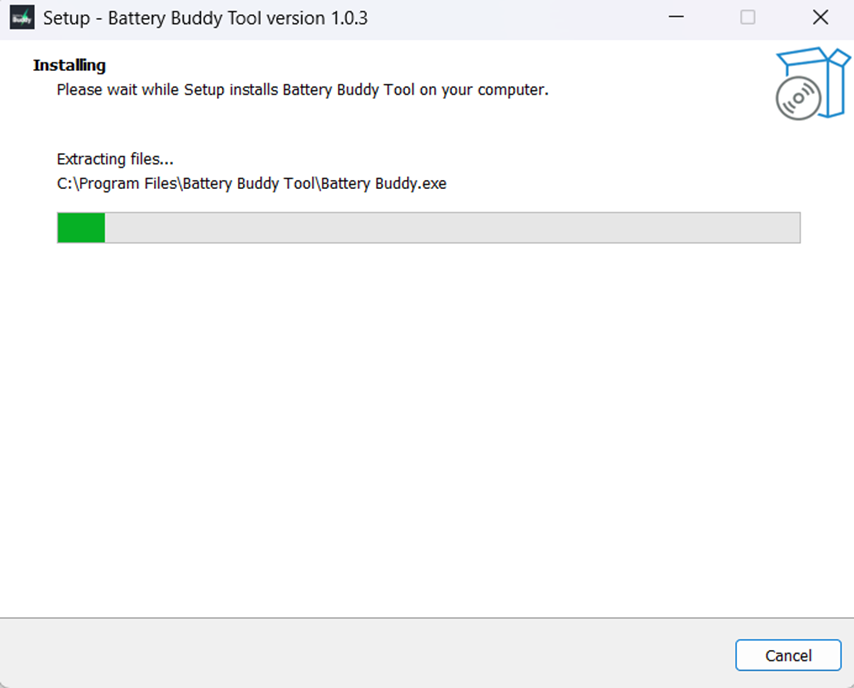
The setup will first prompt you to choose whether to create a desktop shortcut. Select this option and click Next. - Install:
Click Install to begin the installation process. The application will be installed in the default location (usually C:\Program Files\Battery Buddy Tool) — no custom folder selection is required.
Finish:
After installation completes, click Finish. A shortcut icon will be added to your desktop
Step 4: Launch the App
- Double-click the Battery Buddy desktop icon to open the application.
- Connect your battery device via CAN connect and begin using the app.