


This section walks you through the initial steps to start using the Battery Buddy application, including connecting your battery device and navigating the application interface.
Connecting a Battery Device
To begin using Battery Buddy and access its real-time monitoring and configuration features, follow the steps below to establish a connection between your PC and the battery device via USB:
- Connect the Battery to Your PC
- Use the CAN-to-USB cable to connect your battery device to one of the available USB ports on your Windows PC.
- Launch the Battery Buddy Application
- Double-click the Battery Buddy desktop icon or launch it from the Start menu.
- Select the Communication Port (COM Port)
- After the application opens, navigate to the COM Port dropdown list available on the connection screen.
- Select the COM port corresponding to the connected USB device. If you’re unsure, unplug and replug the device to identify the active port.
- Initiate Connection
- Click the Connect button.
- The application will attempt to establish a communication link with the battery device via CAN protocol.
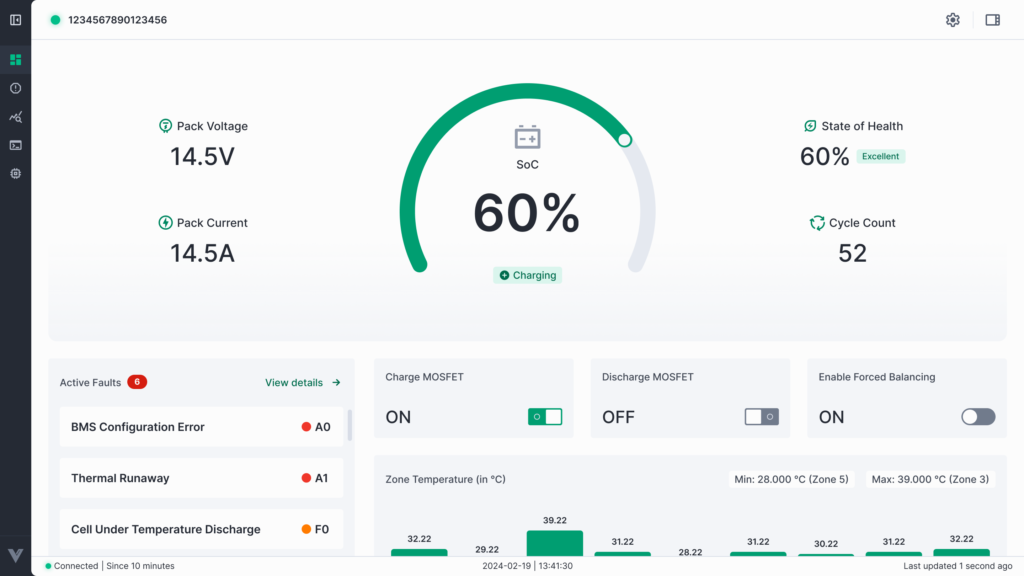
- Access the Dashboard
- Once the connection is successfully established, Battery Buddy will automatically redirect you to the Dashboard screen.
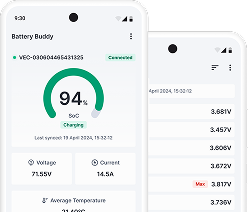
- From here, you can view real-time parameters such as voltage, current, SoC, temperature, and more.
