


Follow these steps to rename an asset in the Asset tab.
Step 1: Go to All Assets
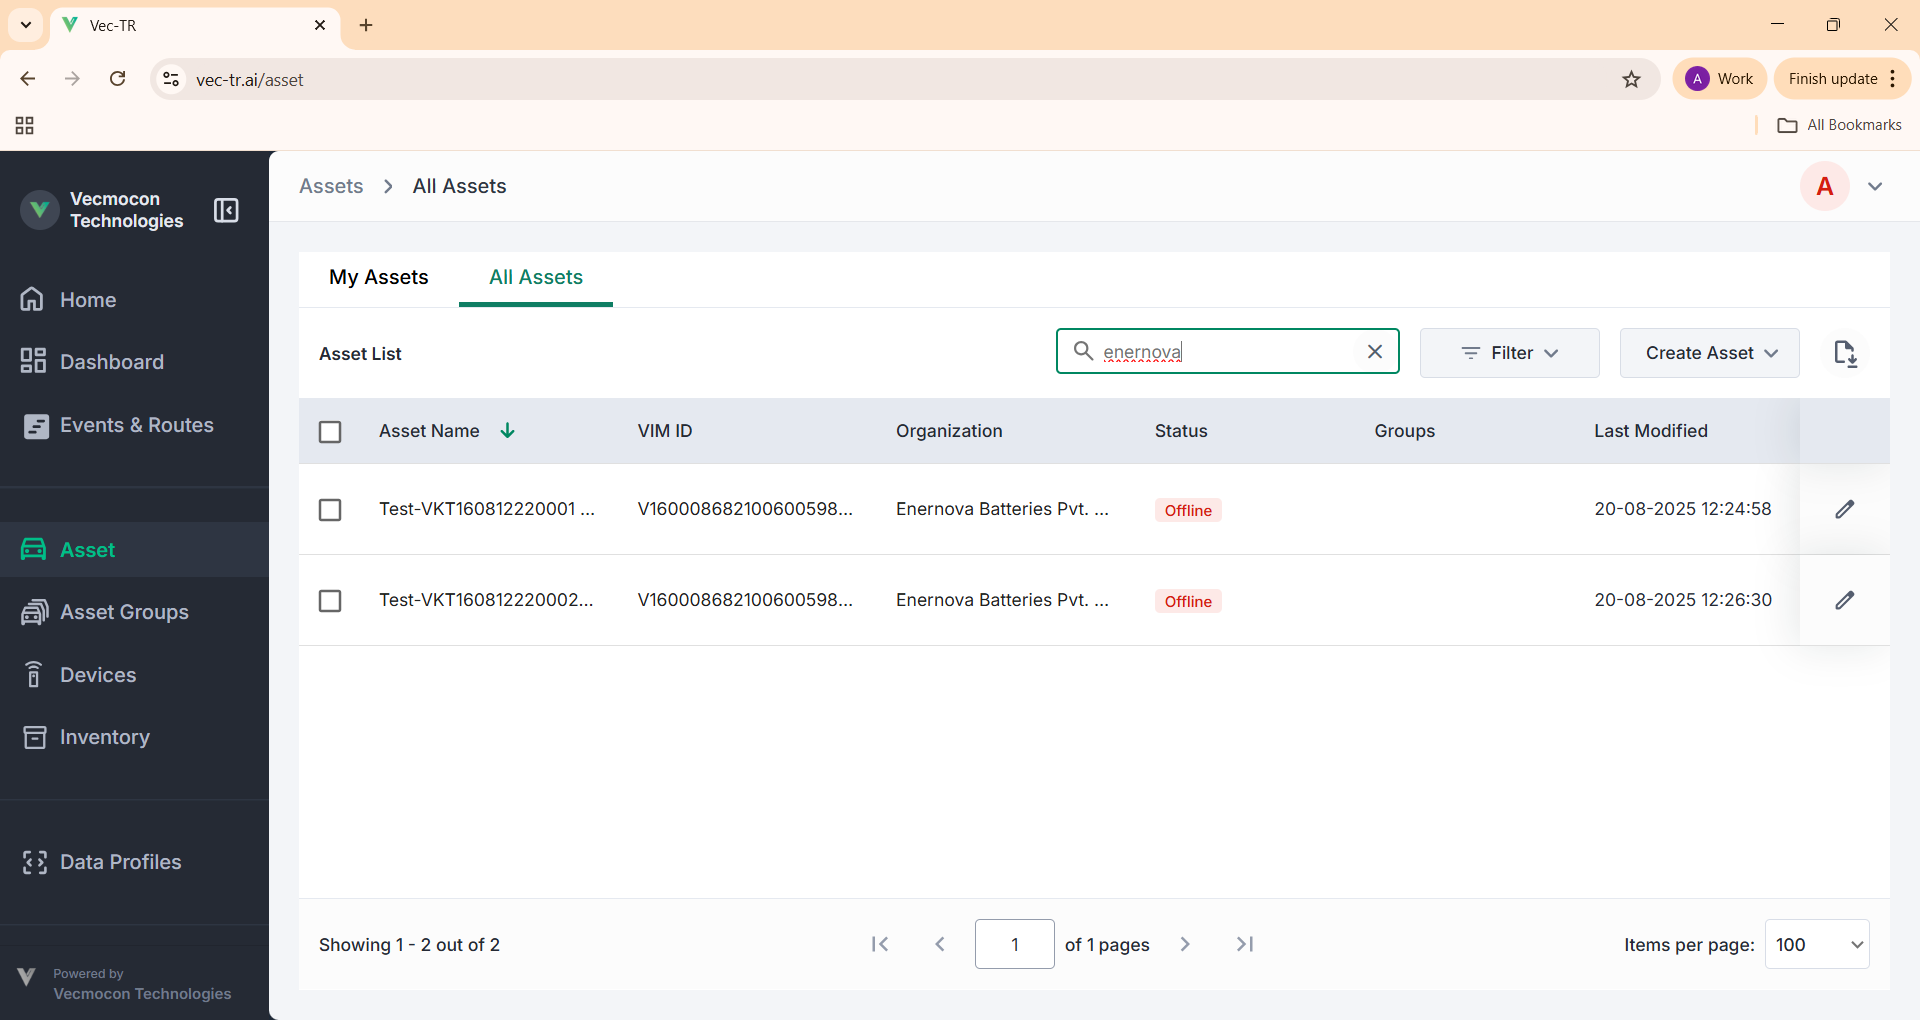
- From the left sidebar, click on Asset.
- Switch to the All-Assets tab.
- Use the Search bar to find the asset.
- You can search using Asset Name, Organization Name, or VIM ID.
Step 2: Open Edit Mode
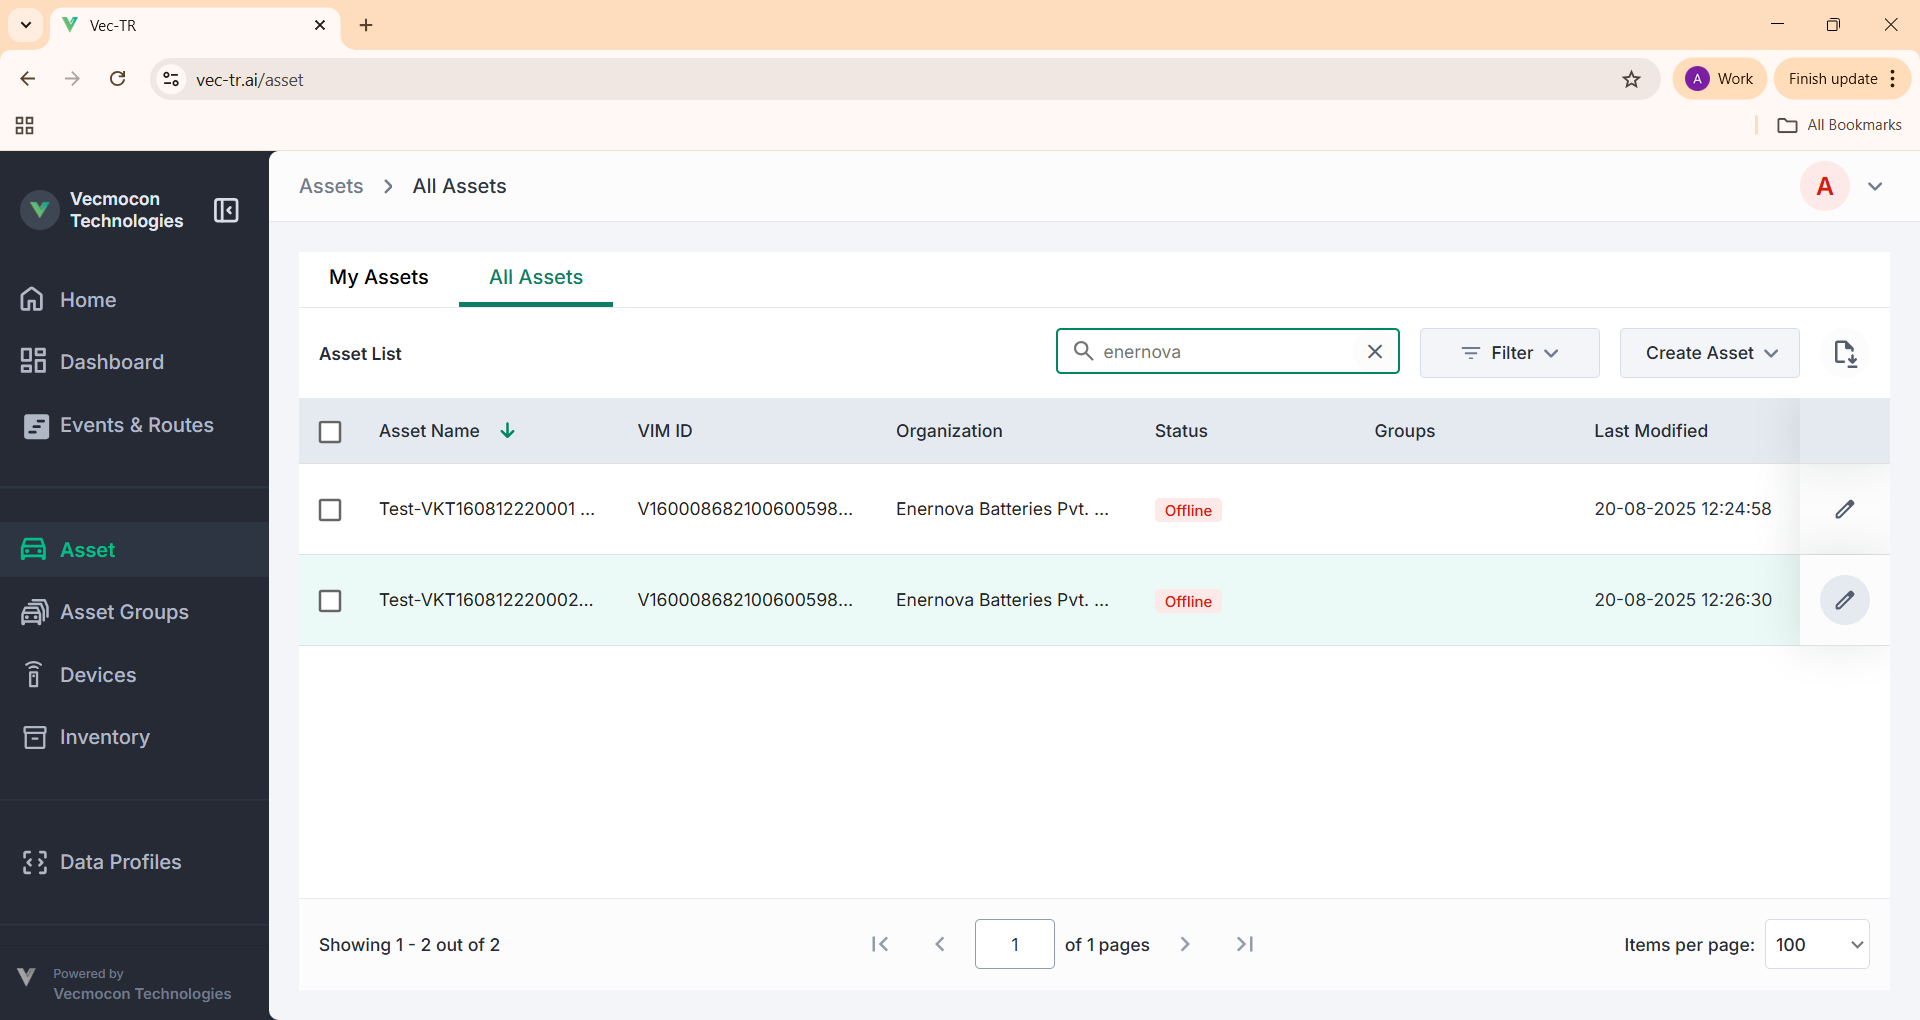
- Find the asset you want to rename.
- Click on the Edit (pen icon) in front of the asset.
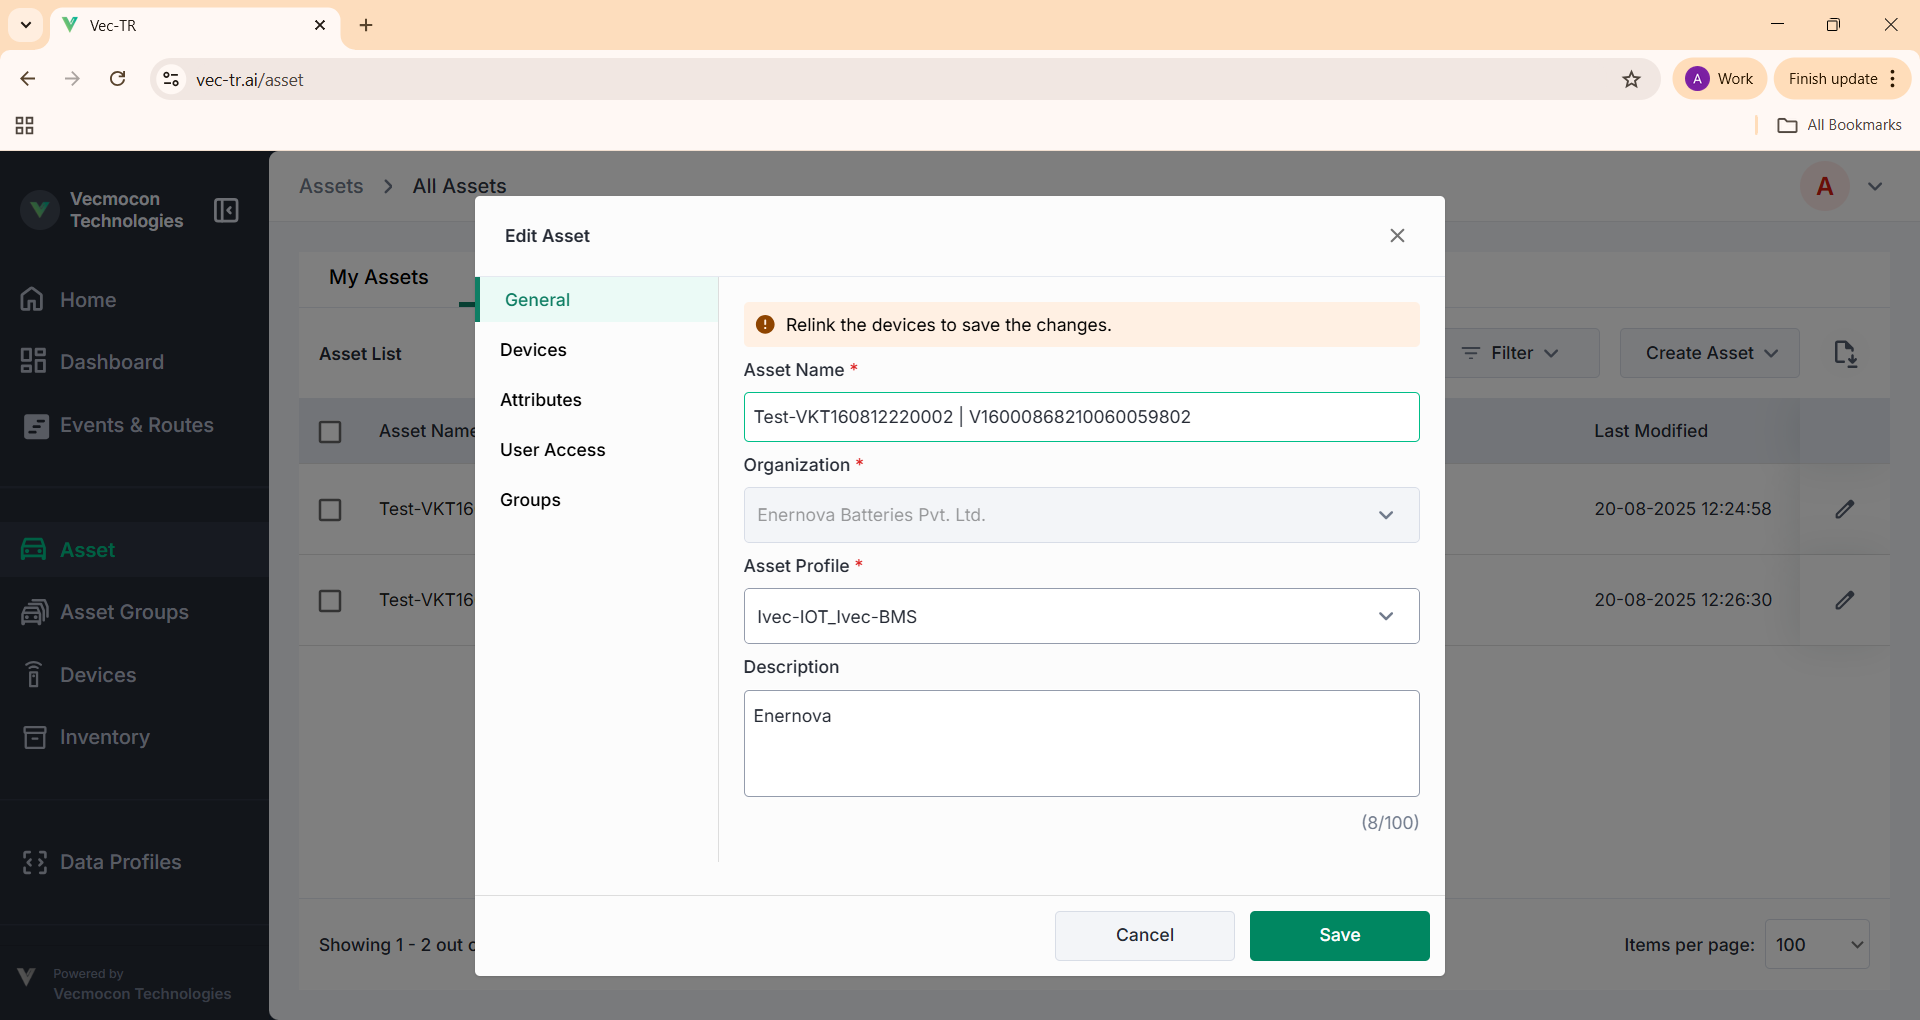
Step 3: Change the Asset Name
- A dialog box will appear with the existing asset details.
- Update the Asset Name field with the new name you want.
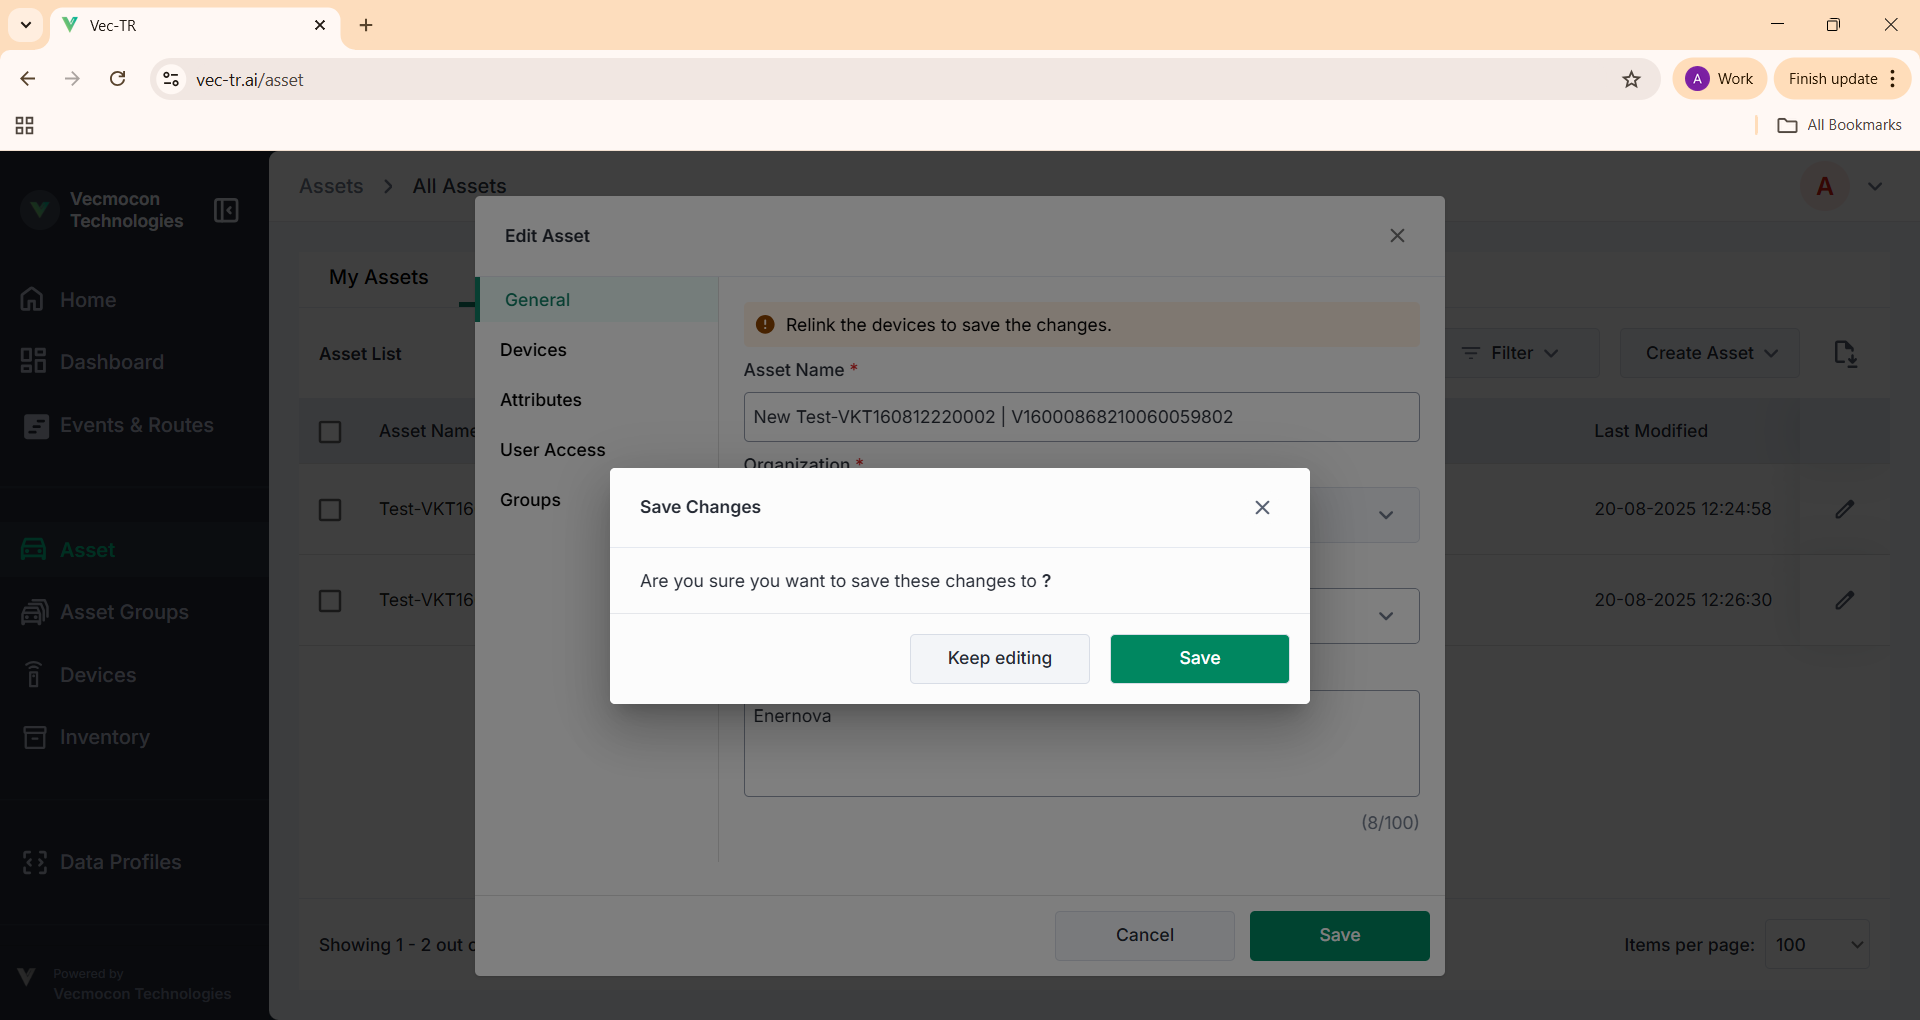
Step 4: Save Changes
- After editing the name, click Save.
- A confirmation popup will appear. Select Save to confirm.
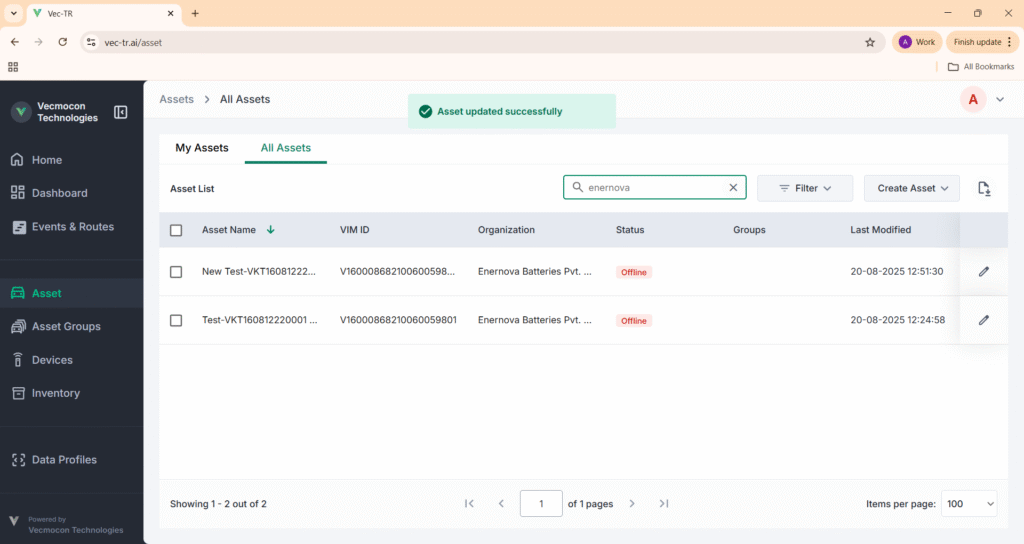
Step 5: Verify Update
- You will see a success message: Asset updated successfully.
- The new name will now be visible in the Asset list.
Now your asset has been successfully renamed in the Vec-TR Dashboard.