


Sometimes you may need to reassign a device from one organization to another. Follow the steps below:
Step 1: Go to Assets
- Navigate to the Asset tab from the left-hand menu.
- If the device belongs to the parent organization, it will appear under both My Assets and All Assets.
- If the device belongs to a sub-organization, you will find it under All Assets only.
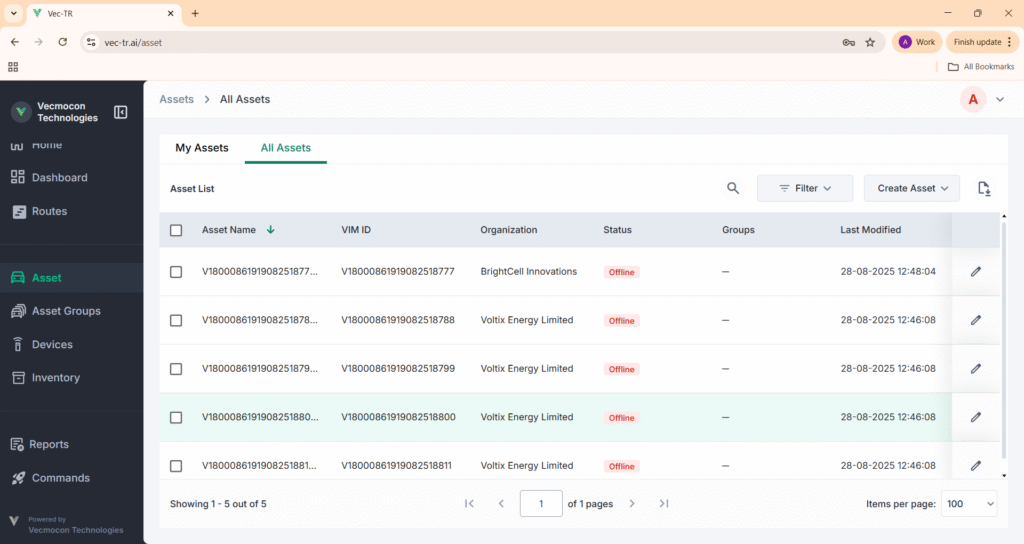
Step 2: Select the Device
- From the asset list, select the checkbox of the device whose organization you want to change.
- Once selected, the Edit menu will become active.

Step 3: Open Edit Options
- Click on the Edit dropdown.
- From the list of options, choose Change Organization.
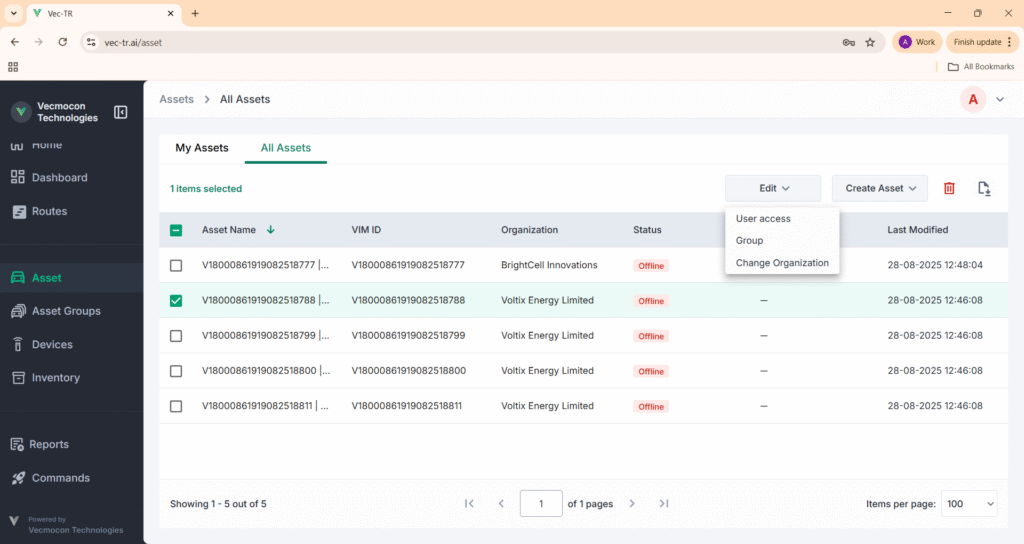
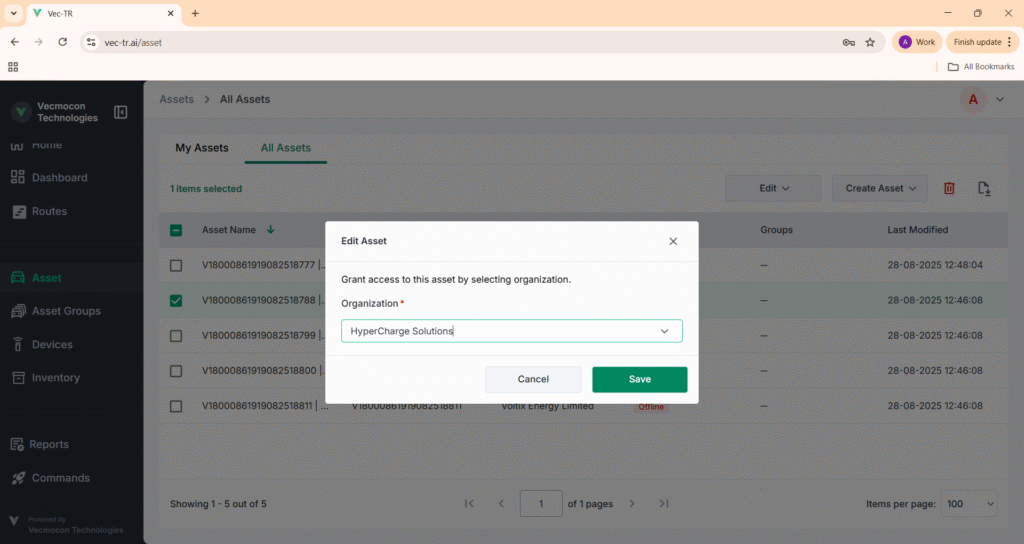
Step 4: Select New Organization
- A dialog box will appear.
- From the Organization dropdown, select the new organization you want to assign the device to.
- Click Save to confirm.
Step 5: Confirmation
- Once saved, a success message will appear: Assets changes successfully.
- The device will now show under the new organization.
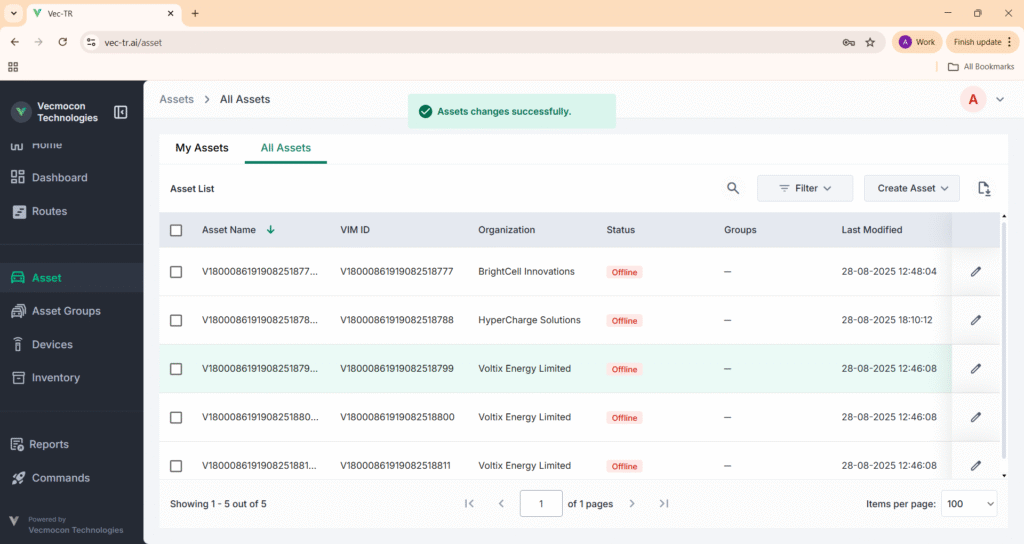
The device has now been moved to the new organization.