This section walks you through the initial steps to start using the Battery Buddy mobile application, including connecting your battery device over Bluetooth and navigating the app interface.
Connecting a Battery Device
To begin using Battery Buddy and access its real-time monitoring and configuration features, follow the steps below to establish a connection between your mobile phone and the battery device via Bluetooth:
1. Turn On Bluetooth
Ensure Bluetooth is enabled on your mobile phone before starting the app.
2. Launch the Battery Buddy Application
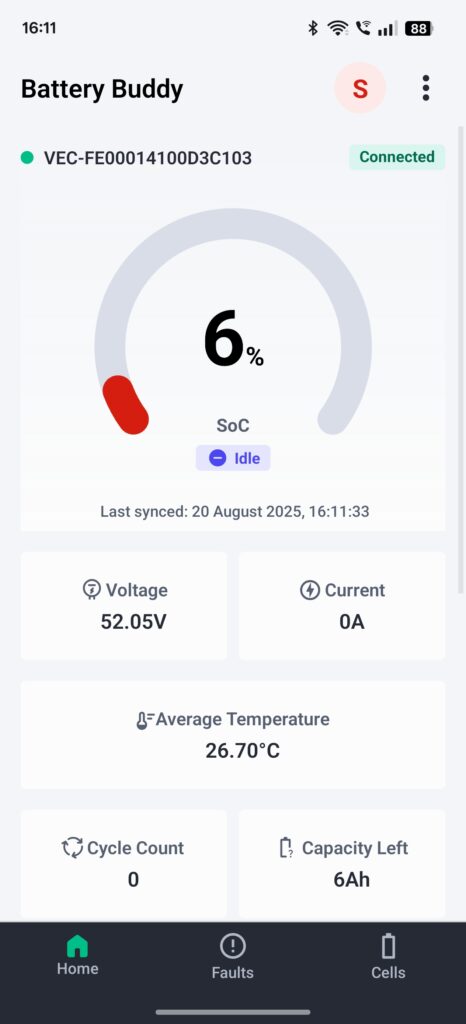
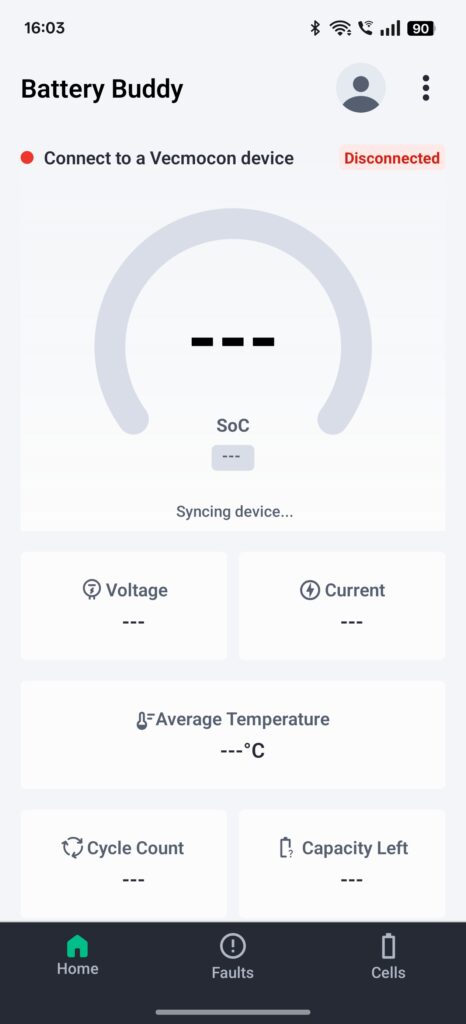
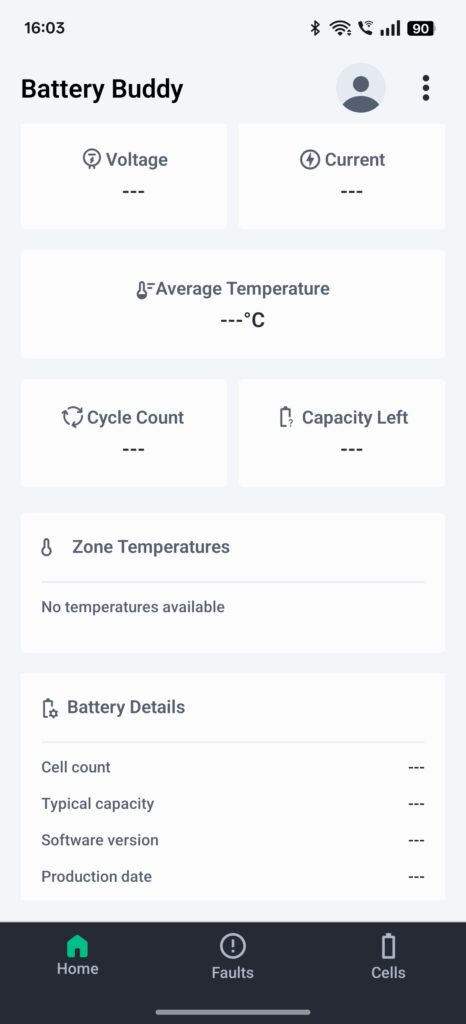
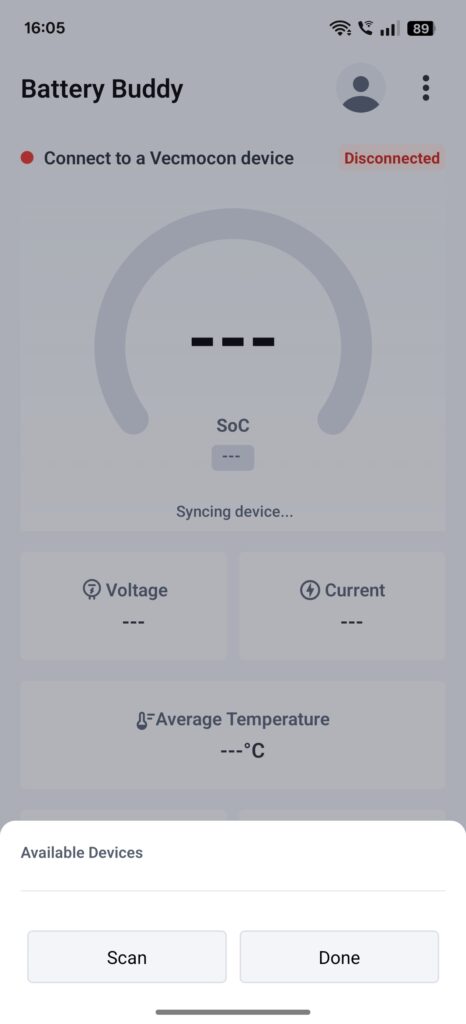
Open the Battery Buddy app from your installed applications list. The app will load the home screen, showing key metrics (SoC, Voltage, Current, Temperature, etc.) as placeholders until a device is connected.
3. Access Device Connection Menu
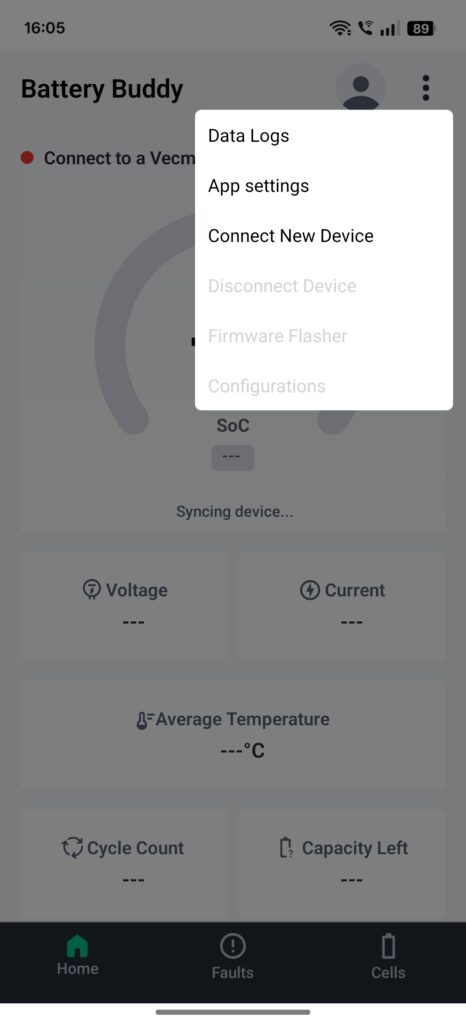
Tap on the three-dot menu in the top-right corner and select Connect New Device.
4. Allow Permissions
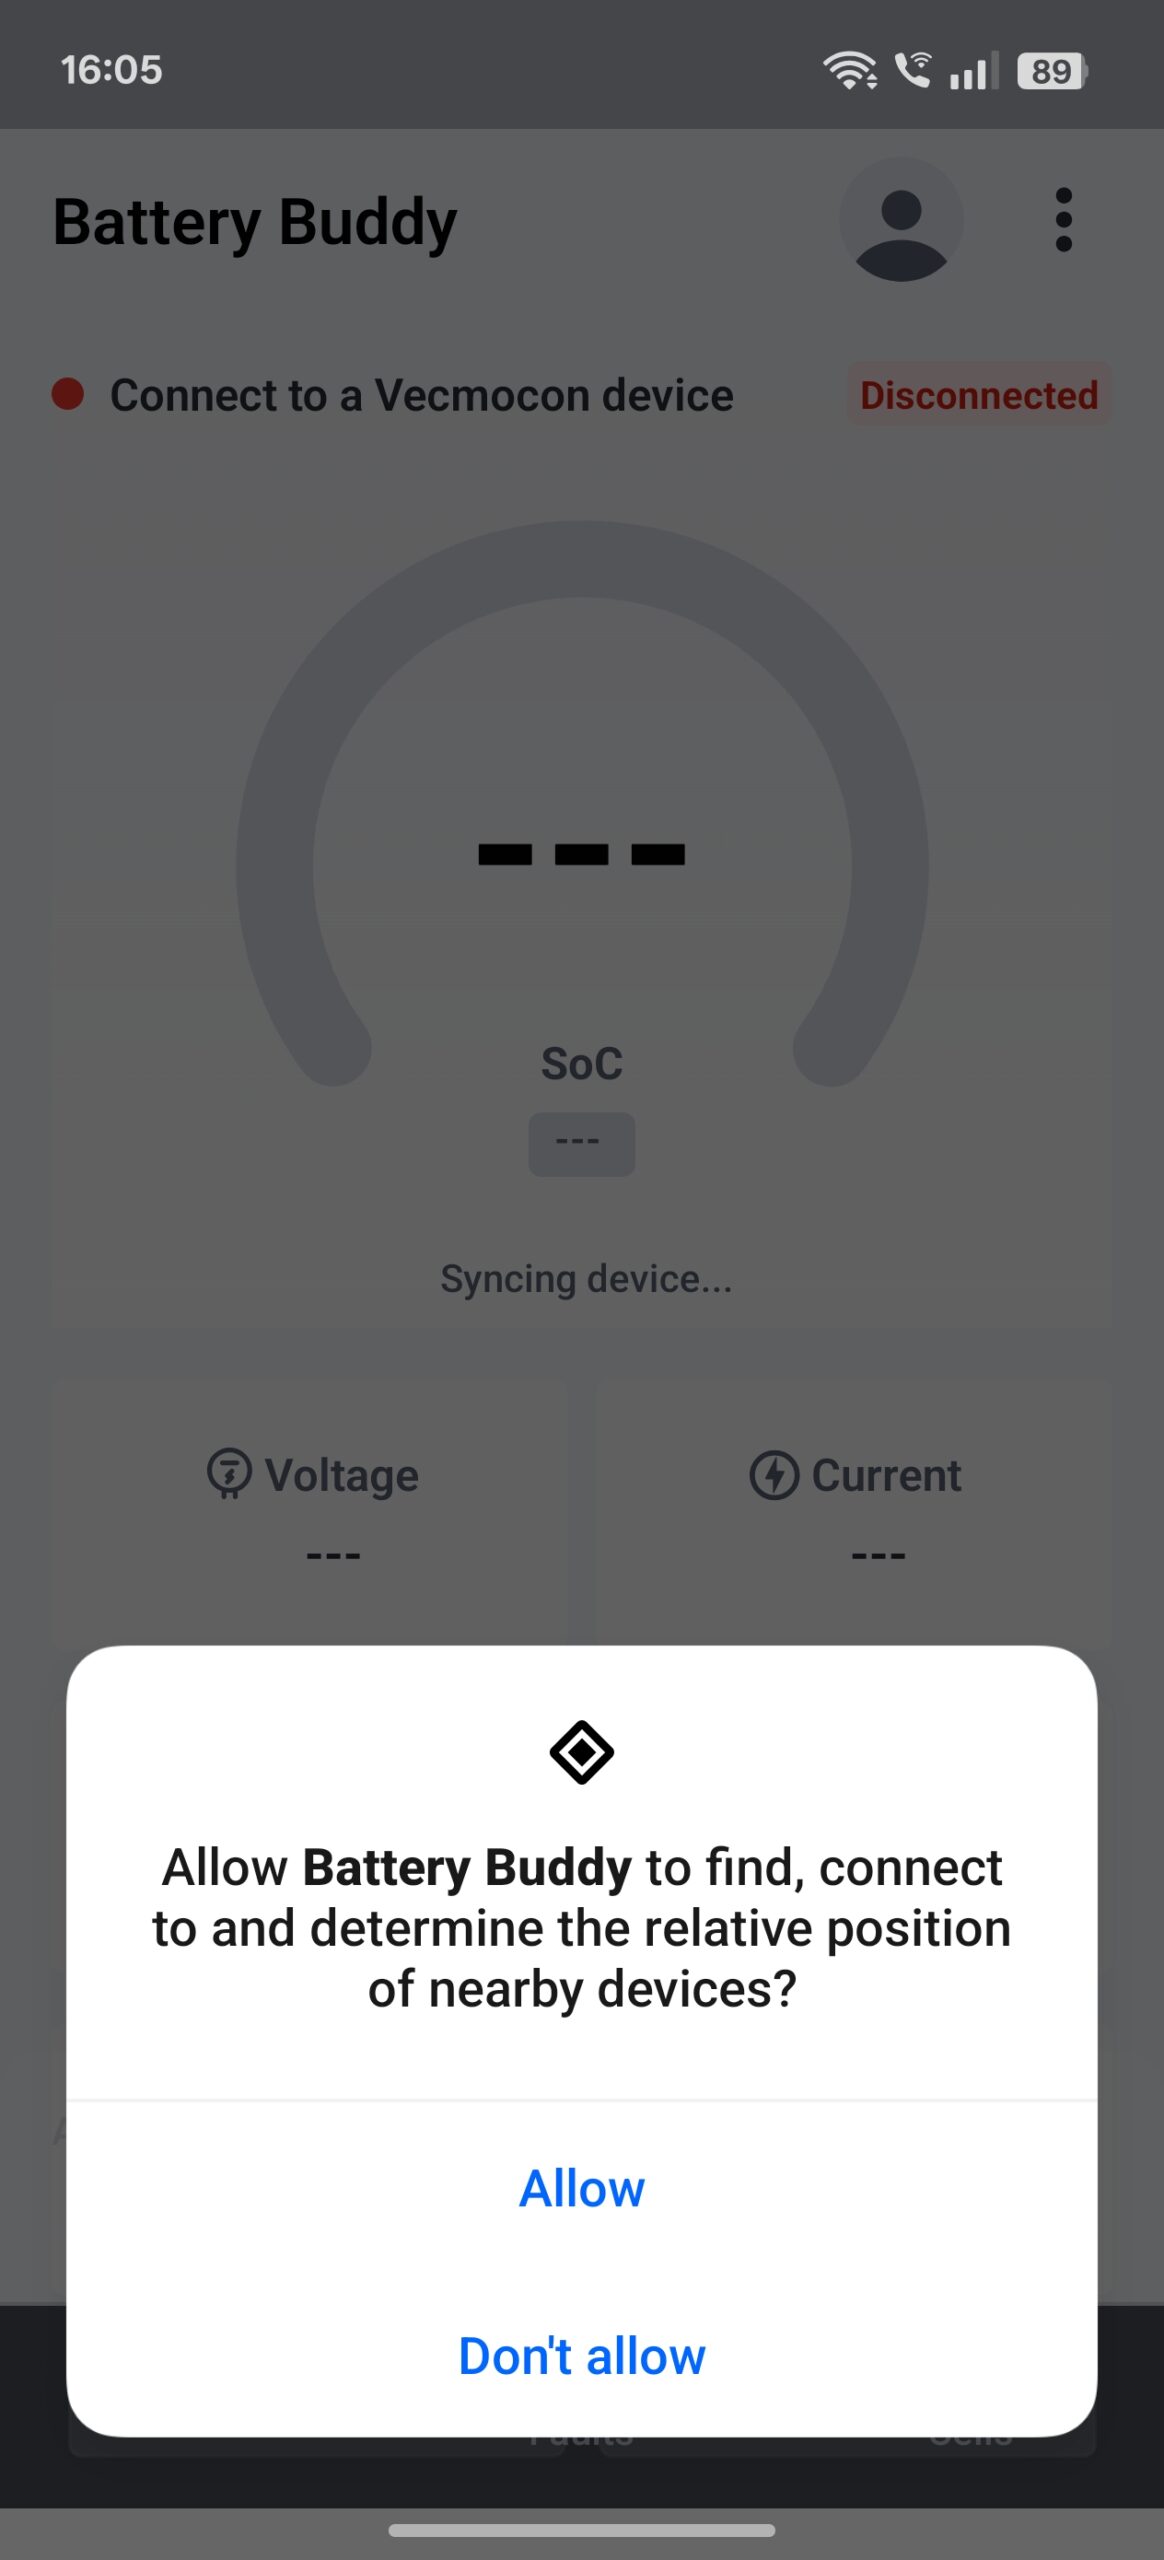
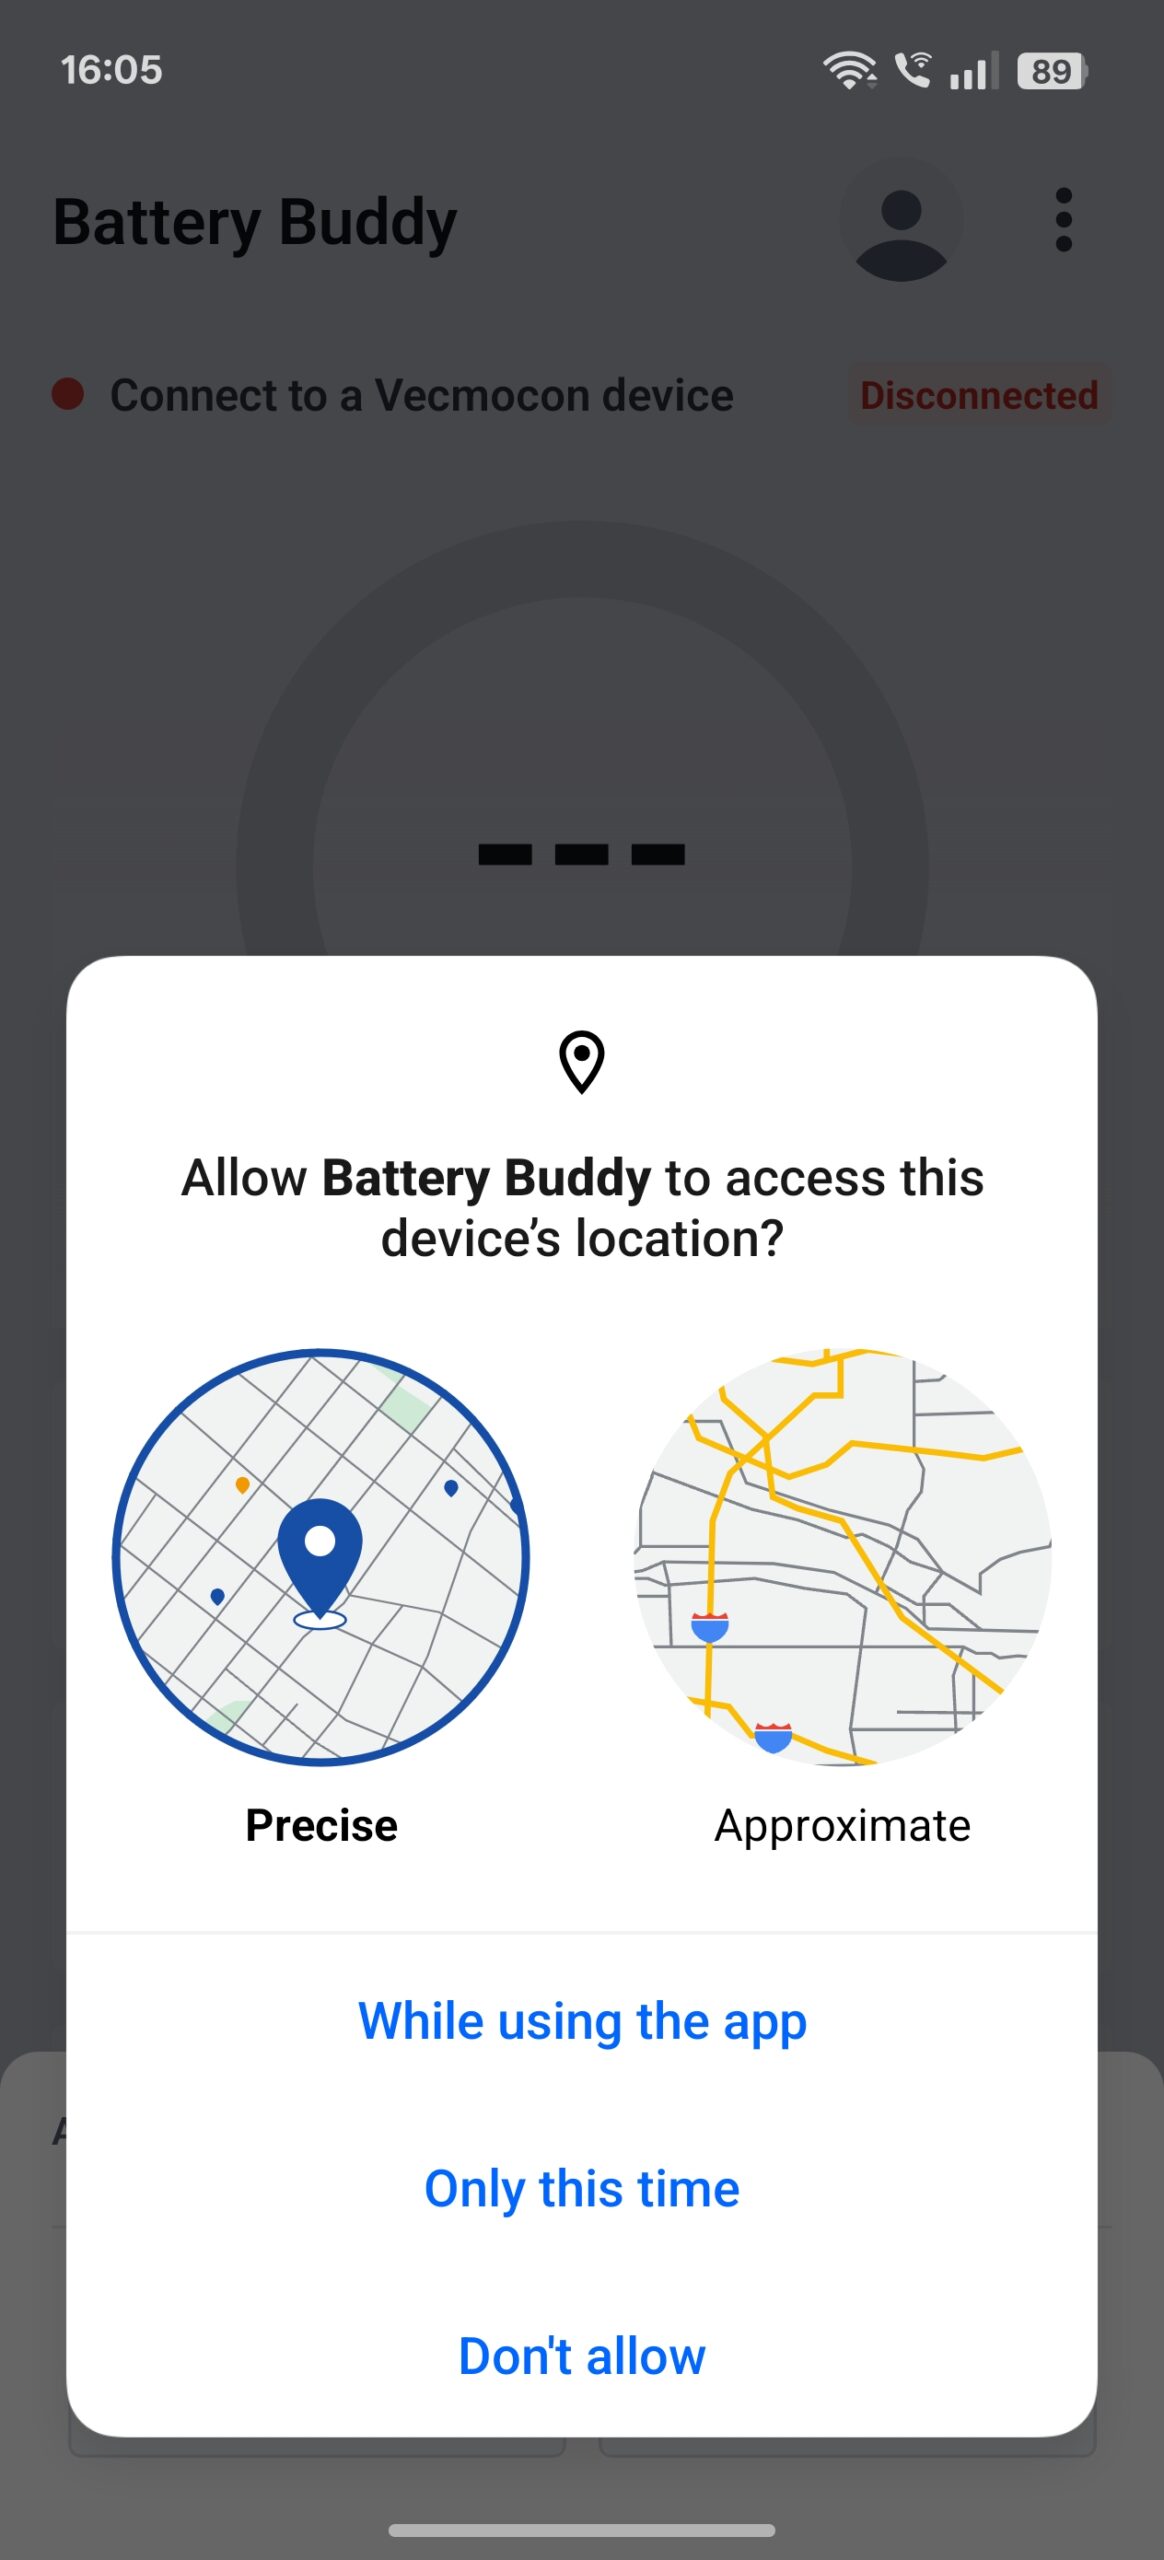
The app will request Bluetooth and Location permissions required for scanning nearby devices. Tap Allow when prompted.
5. Scan and Select Device
The app will open a scanning dialog showing available devices. Tap Scan to search, then select your battery device from the list.
6. Confirm Connection
Once connected, the app will update the home screen with real-time data such as SoC, Voltage, Current, Temperature, Cycle Count, and Capacity Left. The connection status will change to Connected.